We’re back with another Marionette Monday!
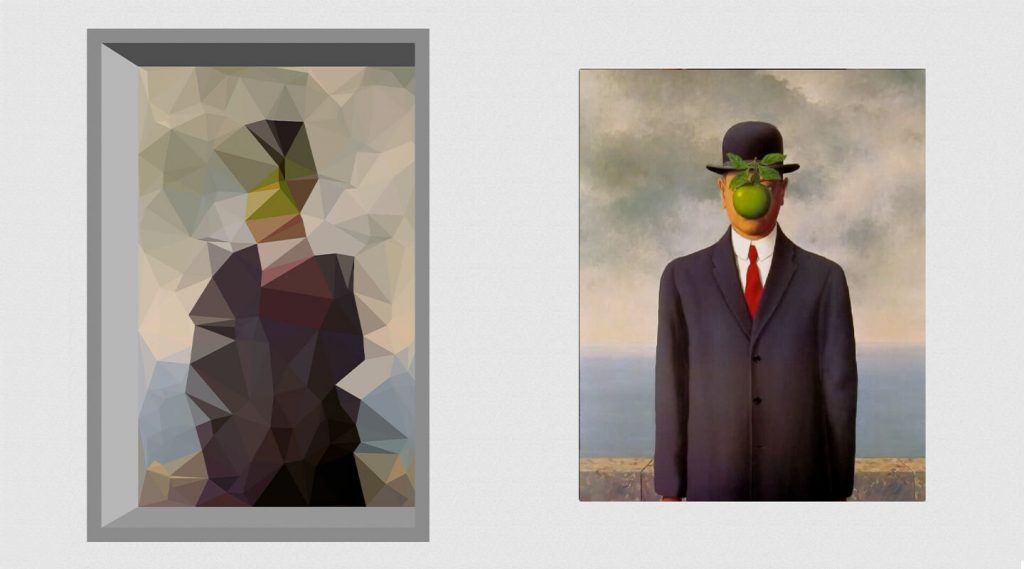
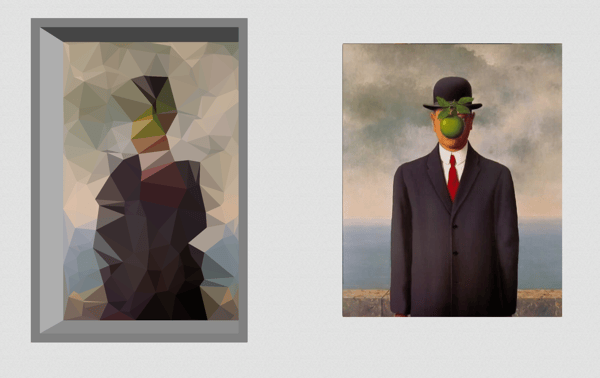
In the past, we’ve shared a lot of custom scripts and networks that do a whole lot of different things (this gravity retaining wall design, this 2D to massing model automation, and this building story automation to name a few!) This time, we have a script that generates some unique geometry patterns. This network transforms an image into a triangulated panel by reading the image’s data for each pixel, then averaging colors per triangle.

Customize the number of points in the panel to add your own artistic flair, like in the image above — the panels contain 250 points, 100 points, and 30 points (left to right), and each way offers a unique look and feel. You can use this network to decorate an interior with customized art, to create a stained glass window, or to simply see what your favorite image looks like in triangulation.
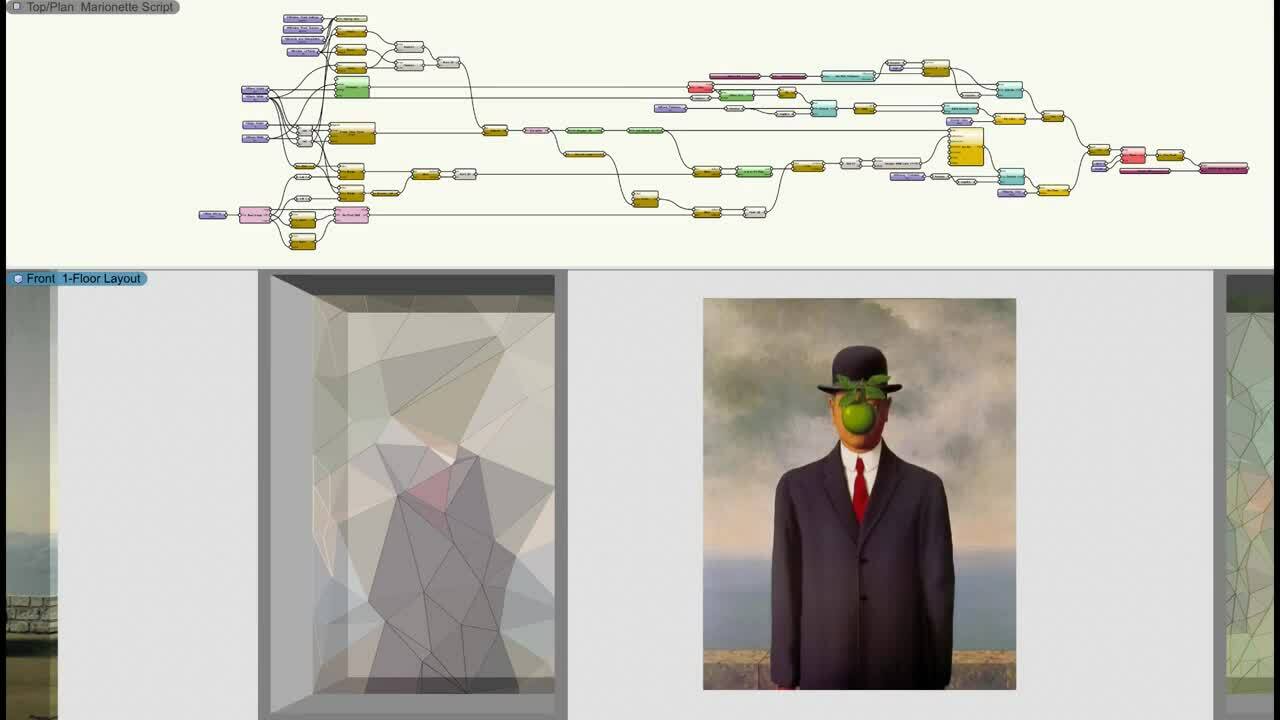
This script combines and expands upon an image processing node and a triangulation node from our Community Forum, where you can find plenty of other Marionette objects and scripts.
You'll need the Python libraries “Pillow,” “NumPy,” and “SciPy” to be installed on your computer to run the script. You’ll see a pop-up to install them when you modify any objects that use the script. You only need to install them the first time you run the script, and after that it’ll work automatically.