Are you considering making the move to Vectorworks but haven’t made the jump? Before looking any further, first consider the ways Vectorworks compares with your current software. If you’re using AutoCAD, we’ve made it easy for you with the first installment of this three-part series, Why CAD Managers Should Make the Move to Vectorworks.
In this article, the second of a three-part series, we’ll offer more considerations for comparing Vectorworks to your current software. As you prepare to make the move, you’re probably wondering what’s going to happen to all of your resources. Perhaps you’re worried you might have to say goodbye to them and start from scratch.

Not to worry, though! Vectorworks DWG Import capabilities allow you to maintain your AutoCAD resources when switching by converting your libraries to native Vectorworks resources using a batch-style import. Here’s how:
File → Import → Import DXF/DWG or DWF
This will open a dialog box prompting you to select multiple files from your computer and set your intended destination. You’ll have three choices for this:
- New Files in Folder – This will open each .dwg file you import as separate .vwx files. These will then be saved automatically as .vwx
- Current File – This will open all .dwg files as a new design layer in the currently open .vwx file and is not automatically saved.
- Symbols in Current File – Open and convert only blocks and related resources of selected .dwg files as symbol resources in one .vwx file and is not automatically saved.
It’s important to note, however, that while importing your files will save a lot of time, not all AutoCAD resources are needed in Vectorworks and, in some cases, native Vectorworks resources will be better in the long run.
What to Convert
We know you’re looking to save time when making the switch to Vectorworks, so we want to highlight a few key components that you can focus your time on.
- Blocks in AutoCAD — Known as Symbols in Vectorworks. These will be converted upon file import.
- Layers in AutoCAD — Known as Classes in Vectorworks. Layers present in a .dwg file should be imported as Classes in Vectorworks to have similar functionality. In Vectorworks, Classes will allow you to assign specific line attributes, text styles, and textures so that objects modeled in this class will take on the Class attributes. When creating or editing a class, be sure to check “Use at Creation” for it to work!
- Hatch Patterns in AutoCAD — Known simply as Hatches in Vectorworks. In order for these to be converted to a Vectorworks file, they must be loaded in and physically present in the .dwg before import.
What to Recreate
In Vectorworks, you’ll note some differences in component naming conventions. While these won’t automatically convert on import, they can be repurposed with native elements in Vectorworks! Keep reading to find the Vectorworks equivalent and ways to customize them before you start designing.
- DetailViewStyles — These are known as class overrides in Vectorworks. These can be applied to viewports and used to control the line drawing output of said viewport. Class overrides can be transferred from viewport to viewport using the eyedropper tool.
- DimStyles — But Vectorworks has its own dimension styles. Dimensions are saved with the document preferences in Vectorworks making it a file-based setup. Additionally, you can import a custom standard from an existing file using the import button in the dimension standards window and save it in a template file (.sta)
- Layouts — These are known as sheet layouts in Vectorworks, which can be used to assign correct title blocks and have viewports set with the classes, layers, visibilities, and overrides. These sheet layers are saved as either .vwx or .sta files as a template.
- VisualStyles — In Vectorworks, you’ll create Renderworks Styles, which will save various rendering settings including artistic, quality, lighting, and background options.
- SectionViewStyles — These would also be known as class overrides in Vectorworks, as discussed in number 1 in this section.
- MultiLeaderStyles — Leader lines in Vectorworks are typically integrated in their respective plug-in objects, allowing you to customize the tool preferences and save within document preferences. For best results, create a template document!
New Resources in Vectorworks
In order to set yourself up for success during your software transition, it’s important to create template files to accommodate your non-convertible resources and incorporate new, Vectorworks-exclusive resources as well. These include:
- Title Blocks — Using the title block border tool, you can create title block border styles which will allow you to generate graphics for border styles using imported graphics. See this tool in action with our video, Creating a New Title Block Border, on YouTube.
- Wall/Slab/Roof Styles – You won’t be able to convert your AutoCAD building element object styles, so you’ll have to create them from scratch in Vectorworks. Start to build-up your library of parametric building elements to really maximize the power of Vectorworks.
For best results, you’ll want to create a custom template file to accommodate the settings you were using in your old software.
Keep Learning About Making the Move
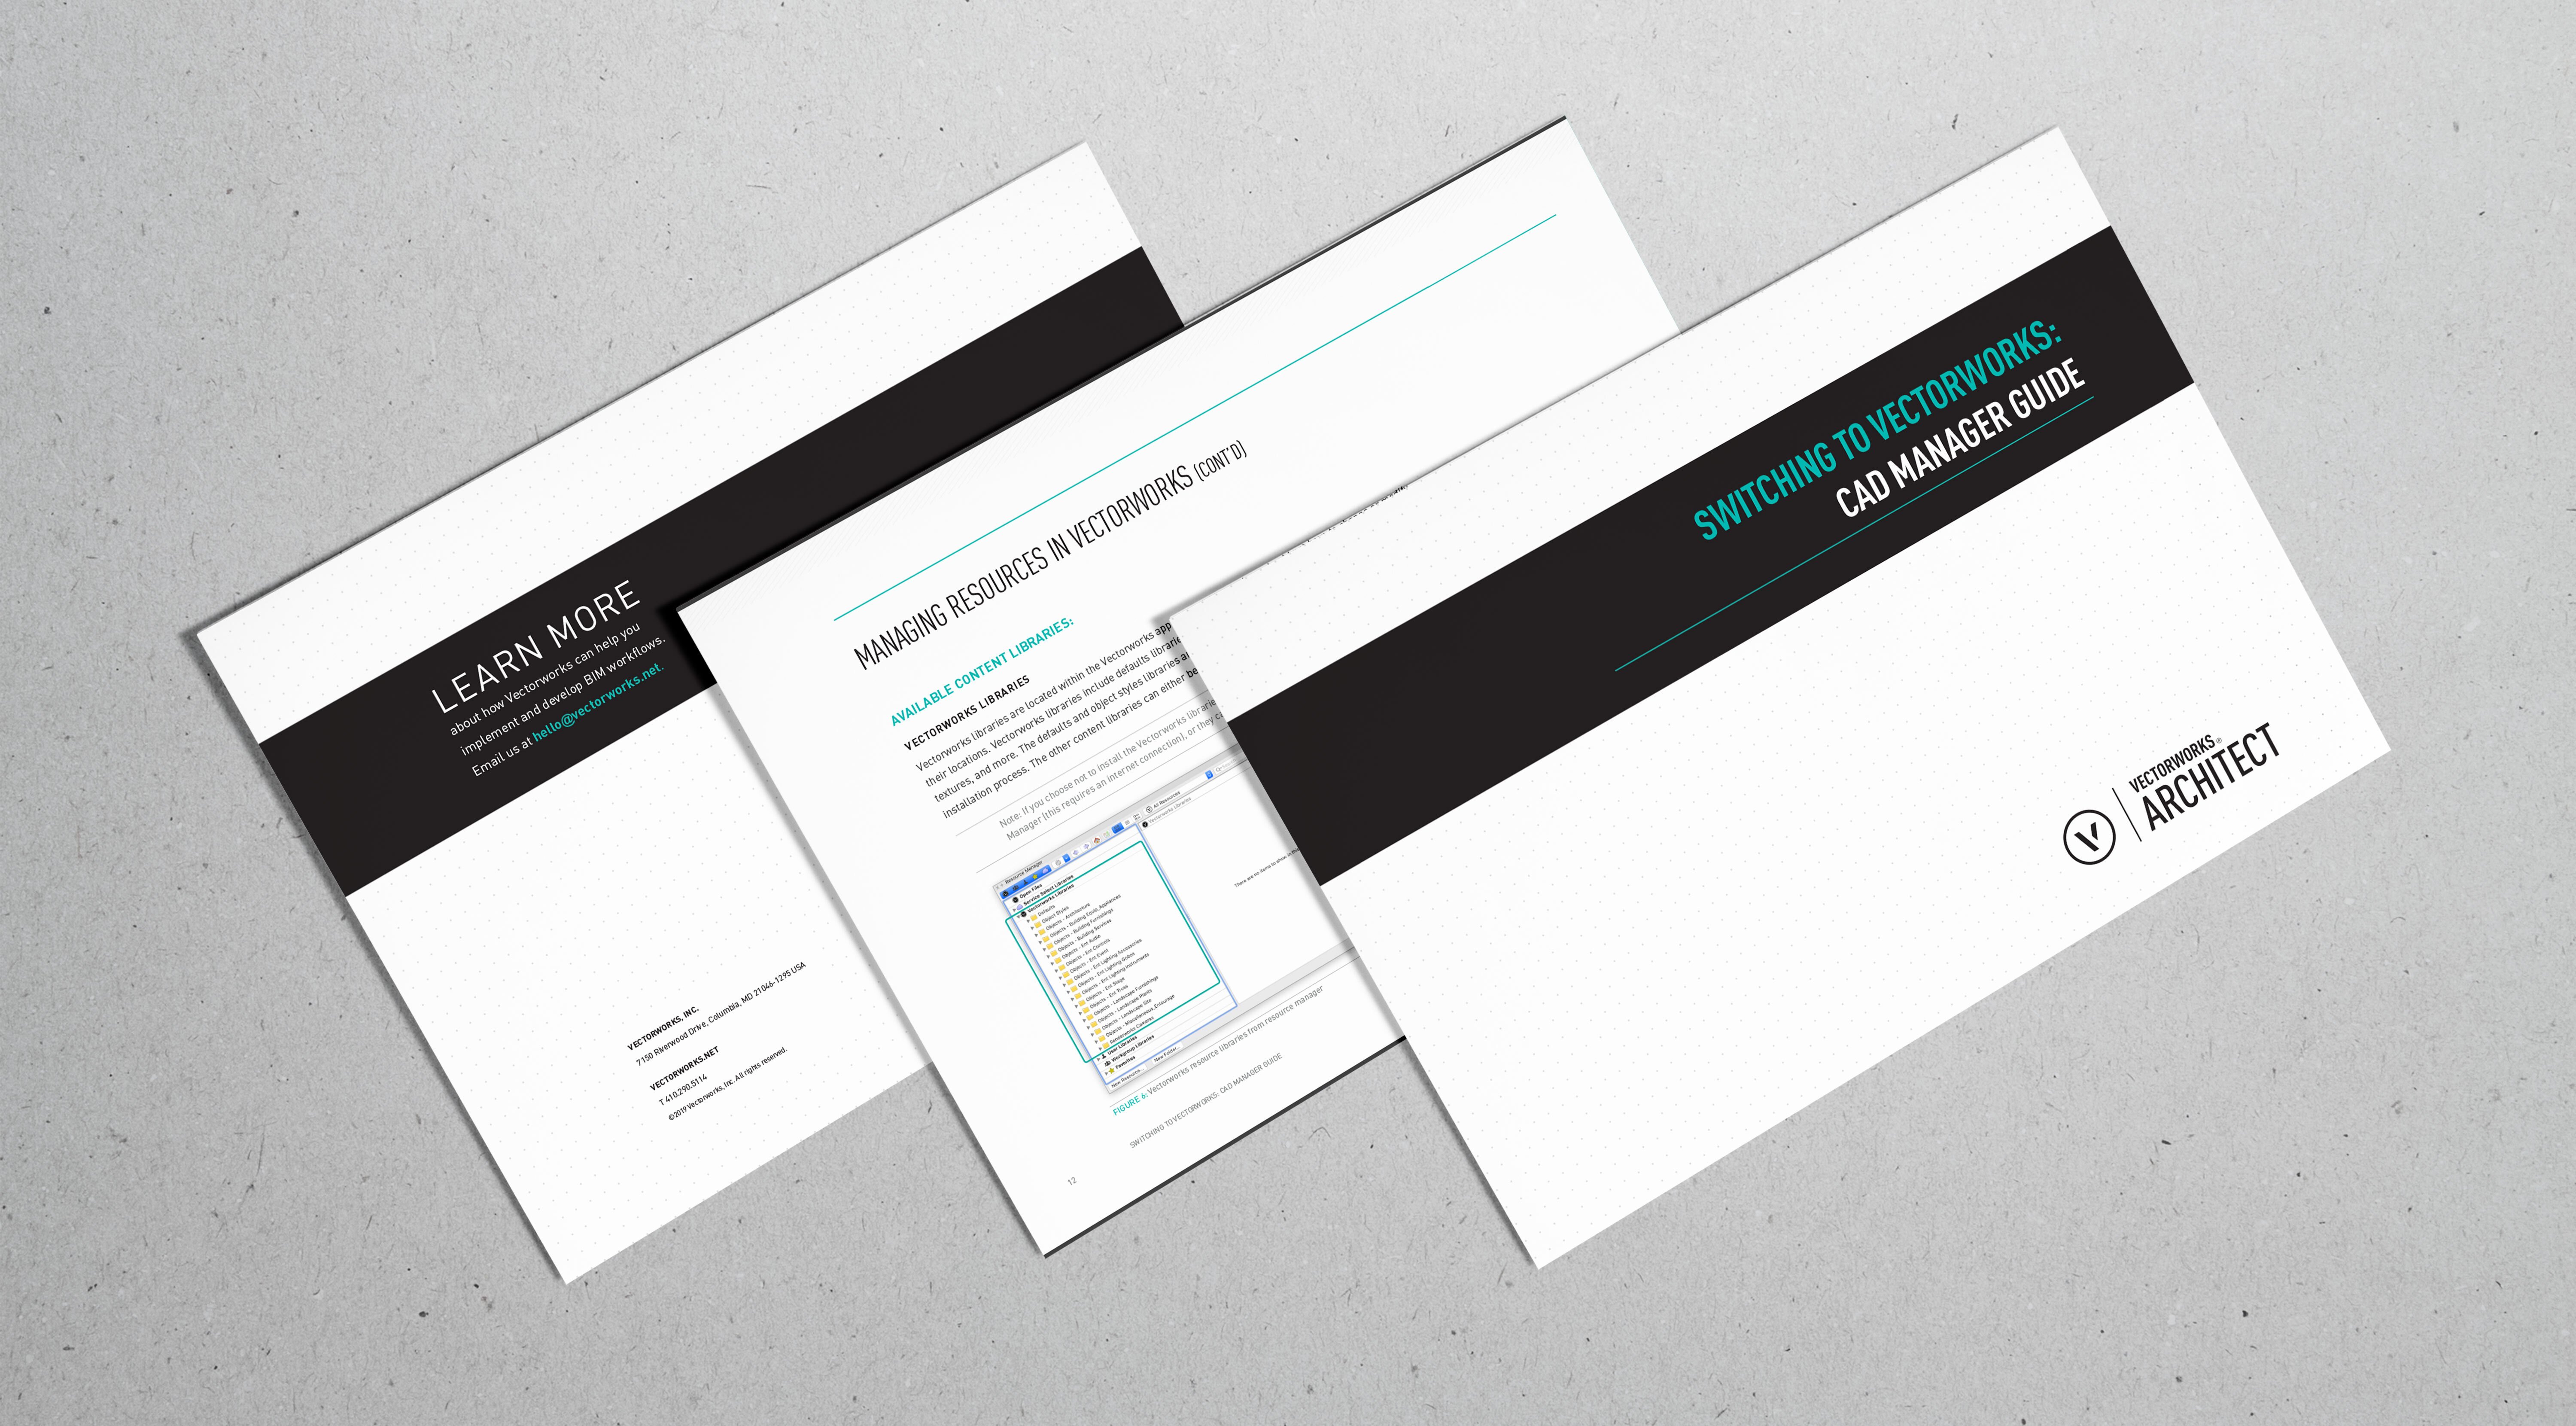
There’s so much more to learn about Vectorworks resources! Download our full CAD Manager guide for more detailed information to help you dive into your move to Vectorworks.
Be sure to subscribe to our blog to be notified of the third blog in this series about switching to Vectorworks.


